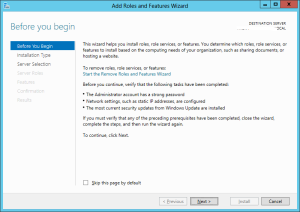
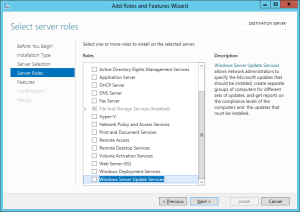
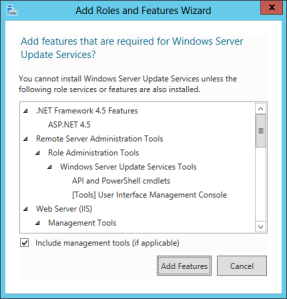
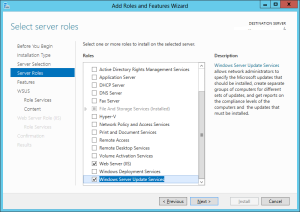
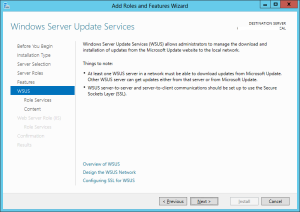
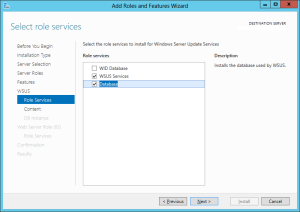
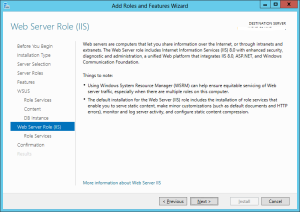
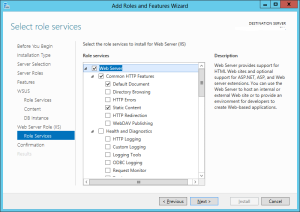
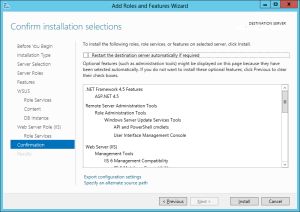
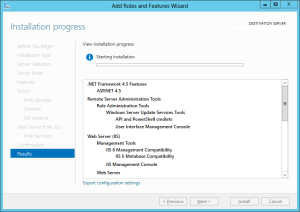
Here’s my step by step account of installing WSUS on a member server in your domain. I understand that it can be a bit buggy sometimes installing this Role on a server due to account restrictions during the role creation especially when creating the database. This method is my simple way of creating the WSUS database on a remote SQL server usually a highly available SQL cluster used for management of infrastructure separate from the Production / Application databases.
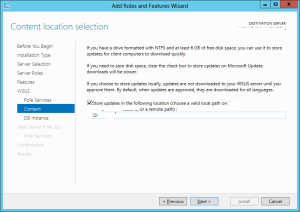
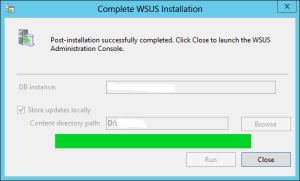
Select Store updates in following location (I always pre-create this folder on a drive with enough space to store the content) enter the location to your content folder.

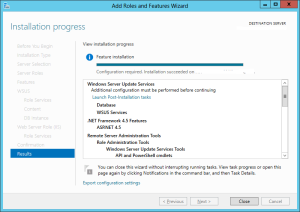
Once the role is installed you have to finish some configuration tasks. This is where you can find yourself scratching your head why isn’t it continuing successfully. My tip is to go to this location C:\Program Files\Update Services\AdministrationSnapin and startup the WSUS.msc

Here you can re-enter the SQL Server name and instance of your database server for WSUS to go and create the database on. Also add the path where you would like to store the content for WSUS. Click on Run!
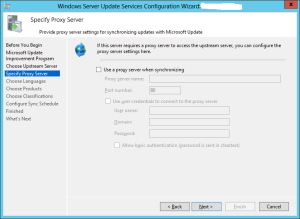
If you require a Proxy server for access to internet you can enter the details here. I didn’t so I just clicked next.
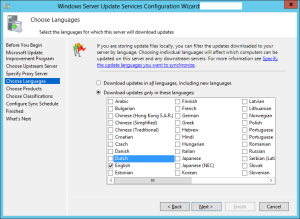
Here you can select an extra language to support if you require a specific language for the software you installed.

Choose the products for which you want updates you can always update this list if you forget something.

Configure your sync schedule I always set mine to a time that won’t impact the backup schedule or Network bandwidth.

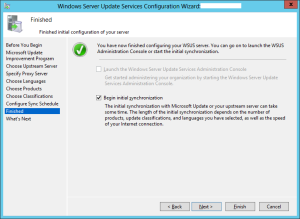
Click Finish you WSUS should now be configured properly to get the updates for the clients you specified. That completes the setup of WSUS!
You are still not done though there are still a few tasks to complete before your clients will gather the updates from this newly installed WSUS server.
1. You need to create computer groups within WSUS.
2. You need to create a policy (GPO) to specify the clients to use this WSUS server and put them into a specific group.
3.Configure your auto approval rules …
2. You need to create a policy (GPO) to specify the clients to use this WSUS server and put them into a specific group.
3.Configure your auto approval rules …
Now a hint create a test group I usually place non important servers like a management server I setup for Admin tasks with RSAT tools etc including other test servers here you can go and implement an auto approval rule… once updated and everything works fine on these servers usually after a day or 2. Then you can go and approve the updates for the rest of the servers in your organization. Good luck with setting up WSUS !
